
Procreate Tutorial: Exporting Animations
Part 2 – in which you learn fun stuff despite the very boring title!

In Part 1 of this tutorial we learned how to make three simple animations in Procreate.
Which is great and all, but wouldn’t it be nice if we could use them outside of Procreate?
Enter Part 2!
Your guide to exporting, using, and banishing the demons of the Procreate gif realm. Okay not really on that last one, but I will be showing you a couple of tips to help avoid some limitations Procreate has.
First up, let’s talk about exporting in general and we’ll cover those limitations in a bit.
Exporting (in General)
To export your gif tap the wrench icon in the menu. You’ll see some options like this:

We want to focus on the bottom section here, where it says “Share Layers”. As you can see there are several options but the two we want are Animated GIF and Animated MP4.
Depending on which one you choose your end result after exporting will be a different file type — either a .gif or a .mp4 (as you may have gathered based on their names).
A GIF will repeat endlessly just like any GIF you are used to seeing on the internet. An MP4 will be a video, it won’t autoplay and you’ll have to start it to watch it just like a video you shoot on your phone.
At this point you may be thinking “Umm Jenni, this is a tutorial about making GIFs. Why would you tell me about an option that makes a video??”
Because, my friend, of textured brushes and backgrounds. Take a look at this example:
If you want to create a GIF like this, something you made using textured brushes in Procreate AND that has a background you should always choose Animated MP4. And if you are wondering how I got it to loop despite telling you mere seconds ago that it wouldn’t, hold your horses, I’ll get there!
First let’s talk about WHY.
Procreate GIFS and Texture:
Here’s an what this animation looks like when we choose to export it as a GIF instead of an MP4:
What???? What happened to our beautiful lines and pencil texture? It’s all messed up!
This is one of those Procreate limitations, and tbh it might just be a general animation limitation (my animation knowledge is strictly limited to Procreate so if you know the answer to this please let us know!)
Procreate Gifs don’t handle texture well background or no background.
Luckily we can solve this problem simply by exporting it as an animated MP4.
Note: this only works if you have a background, if you used a textured brush and you want a transparent background I’ll show you how I work around that in a second.
Okay, great! We have our animation exported and it looks great except it doesn’t loop. And it’s not a GIF.
“What the hell, Jenni?” You think annoyedly at the computer (or phone) screen.
To which I reply, “Release your horses!”
It’s time for me to teach you how to magically transform your MP4 into a GIF.
Like. A. Wizard.
Transform your MP4 to a GIF
Okay, more like a tech nerd but still. Allow me to introduce you to Adobe Express - a tool that literally just does it for you.
Adobe Express – Convert from MP4 to GIF for free.
It’s super simple, easy and best of all free. For real, you don’t even need an Adobe account!
You just go to the site, press upload your video, then drag and drop your .mp4 file et voila! it will be magically (through the power of technology) converted into a GIF for all your glorious gif needs.
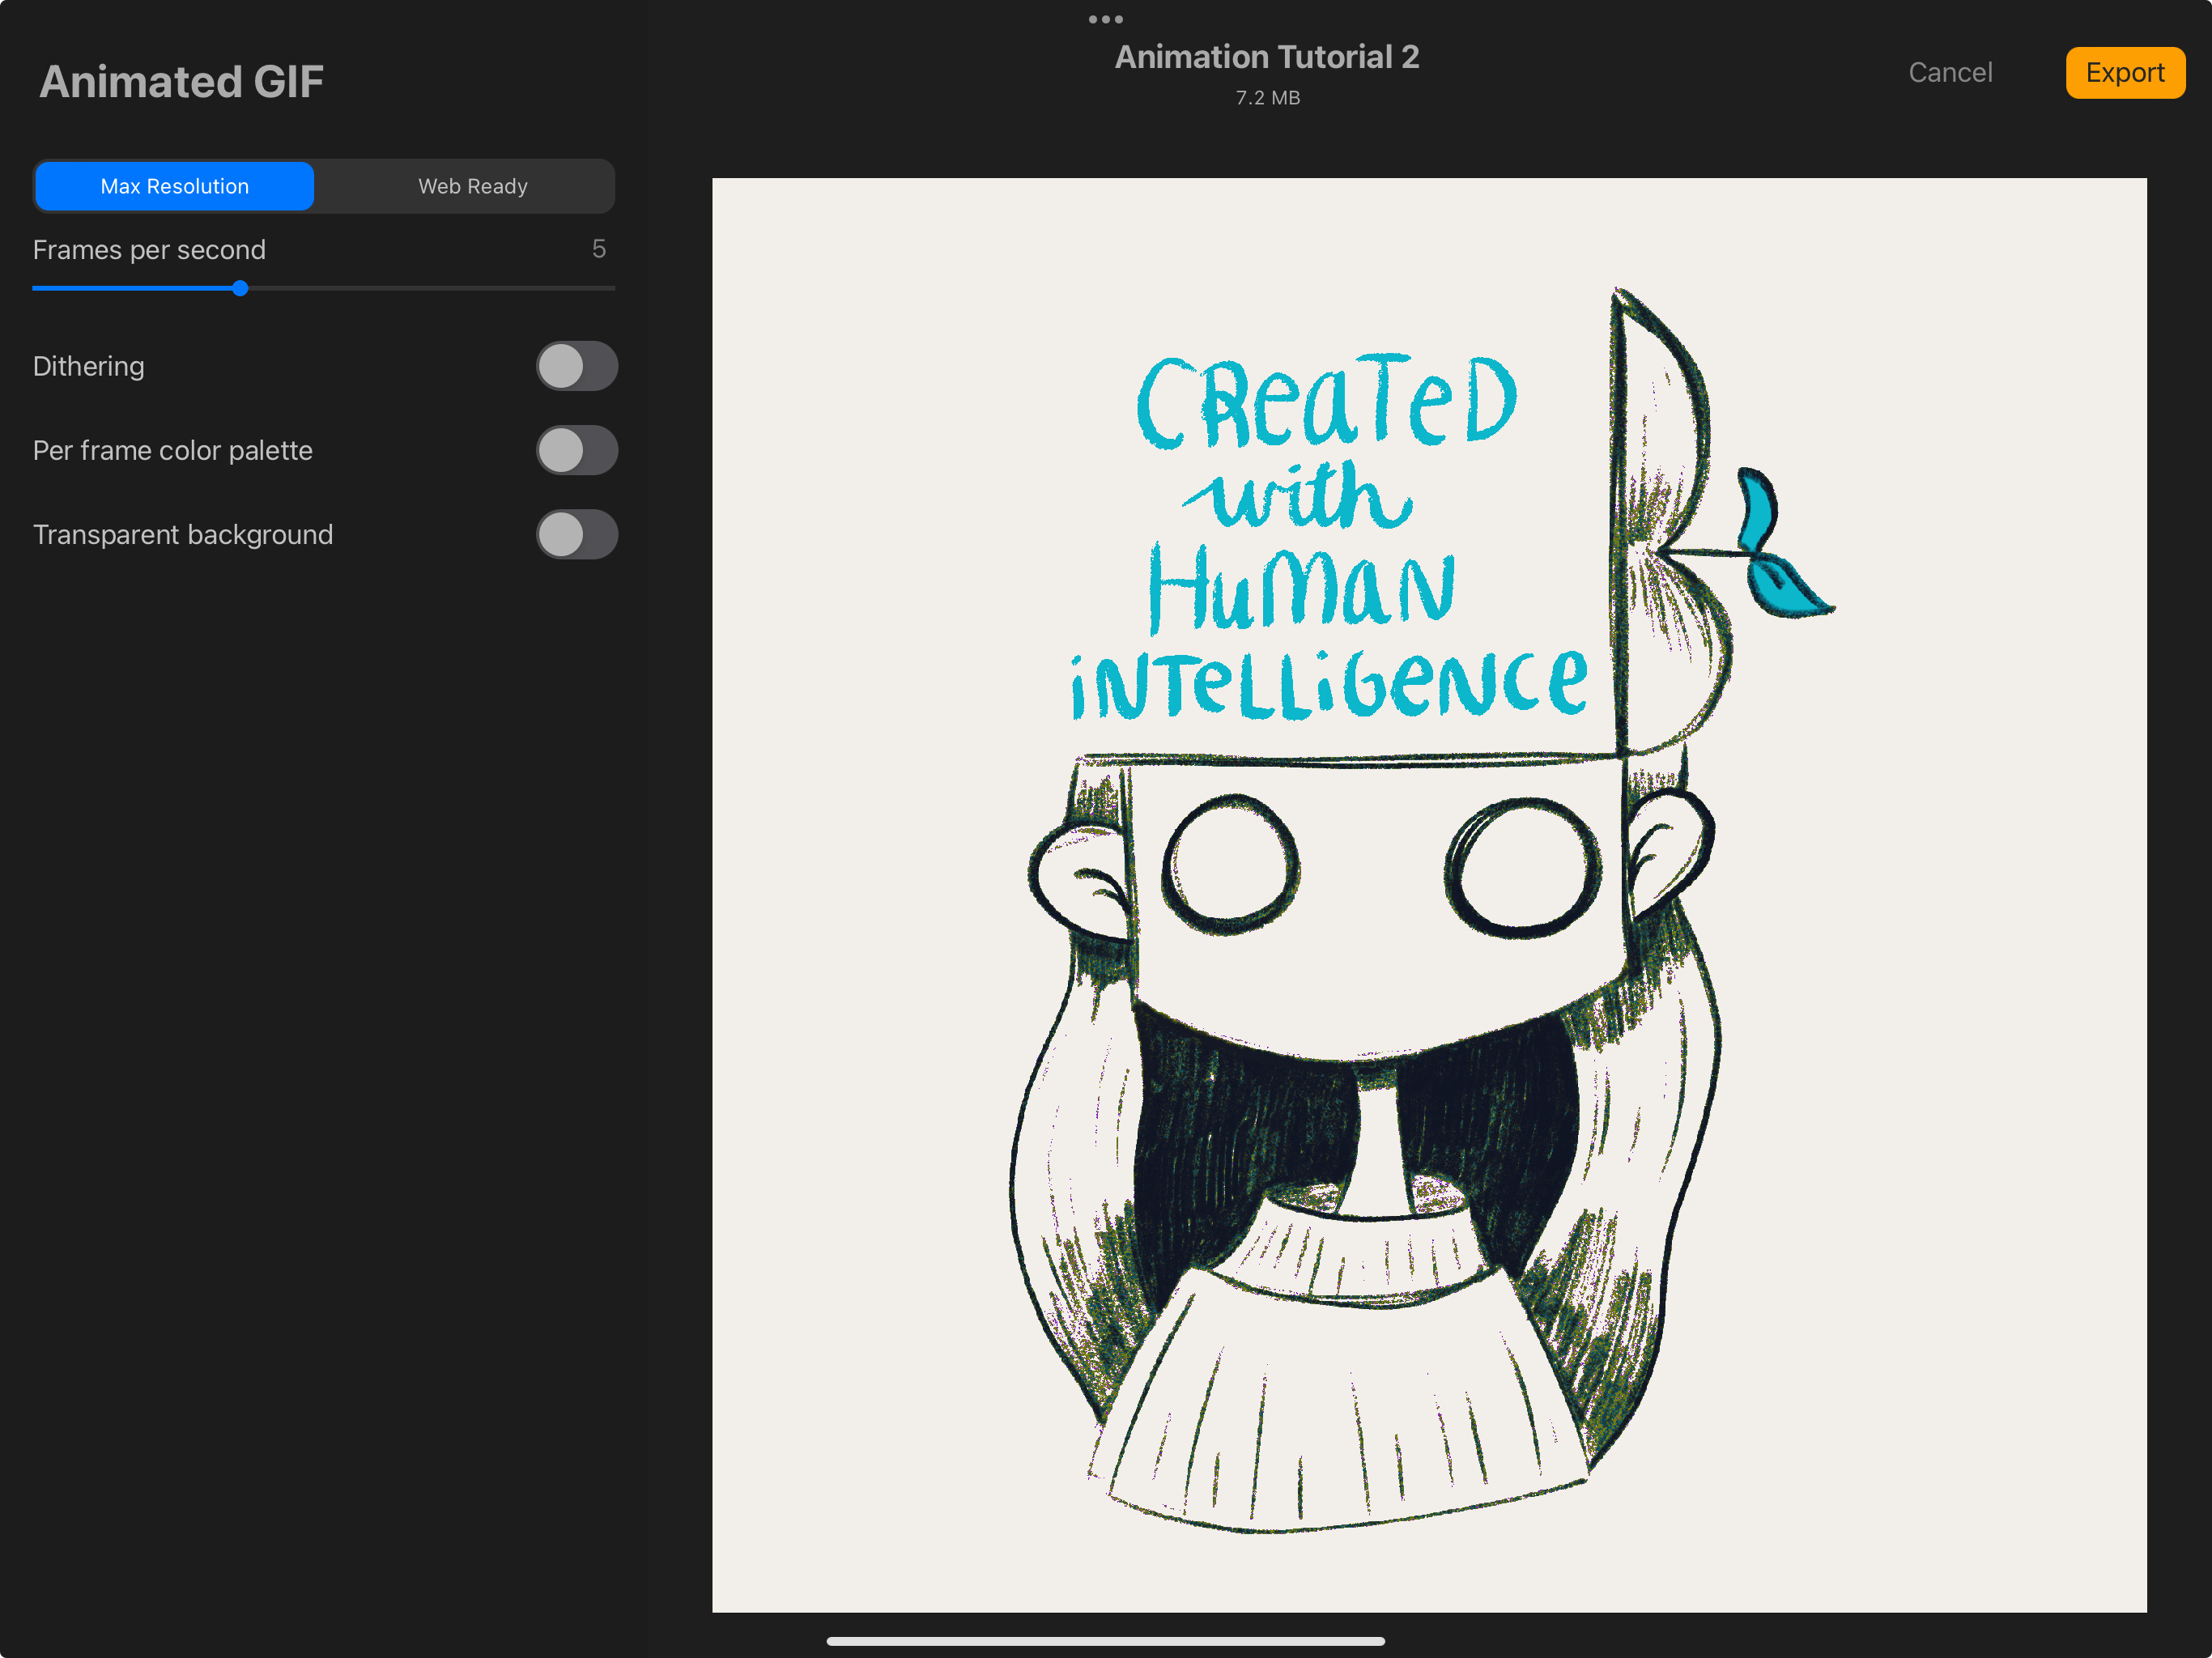
Exporting GIFs with a Transparent Background
If you didn’t use a textured brush you can pretty much just hit export as “Animated GIF” and you are good to go. Probably should have lead with that, but then you wouldn’t have gone on this delightful journey with us, so sorry not sorry?
If you did use a textured brush, I have two options for you.
Option 1: Redraw it with a non-textured brush.
Option 2: Activate Sticker Mode.
I’ll show you what I mean for both using this animation as an example.

First, let’s remove the background and see what that gets us. Note: this is still Procreate, I just switched it to light mode so you could see the example better!
Yikes. Not good.
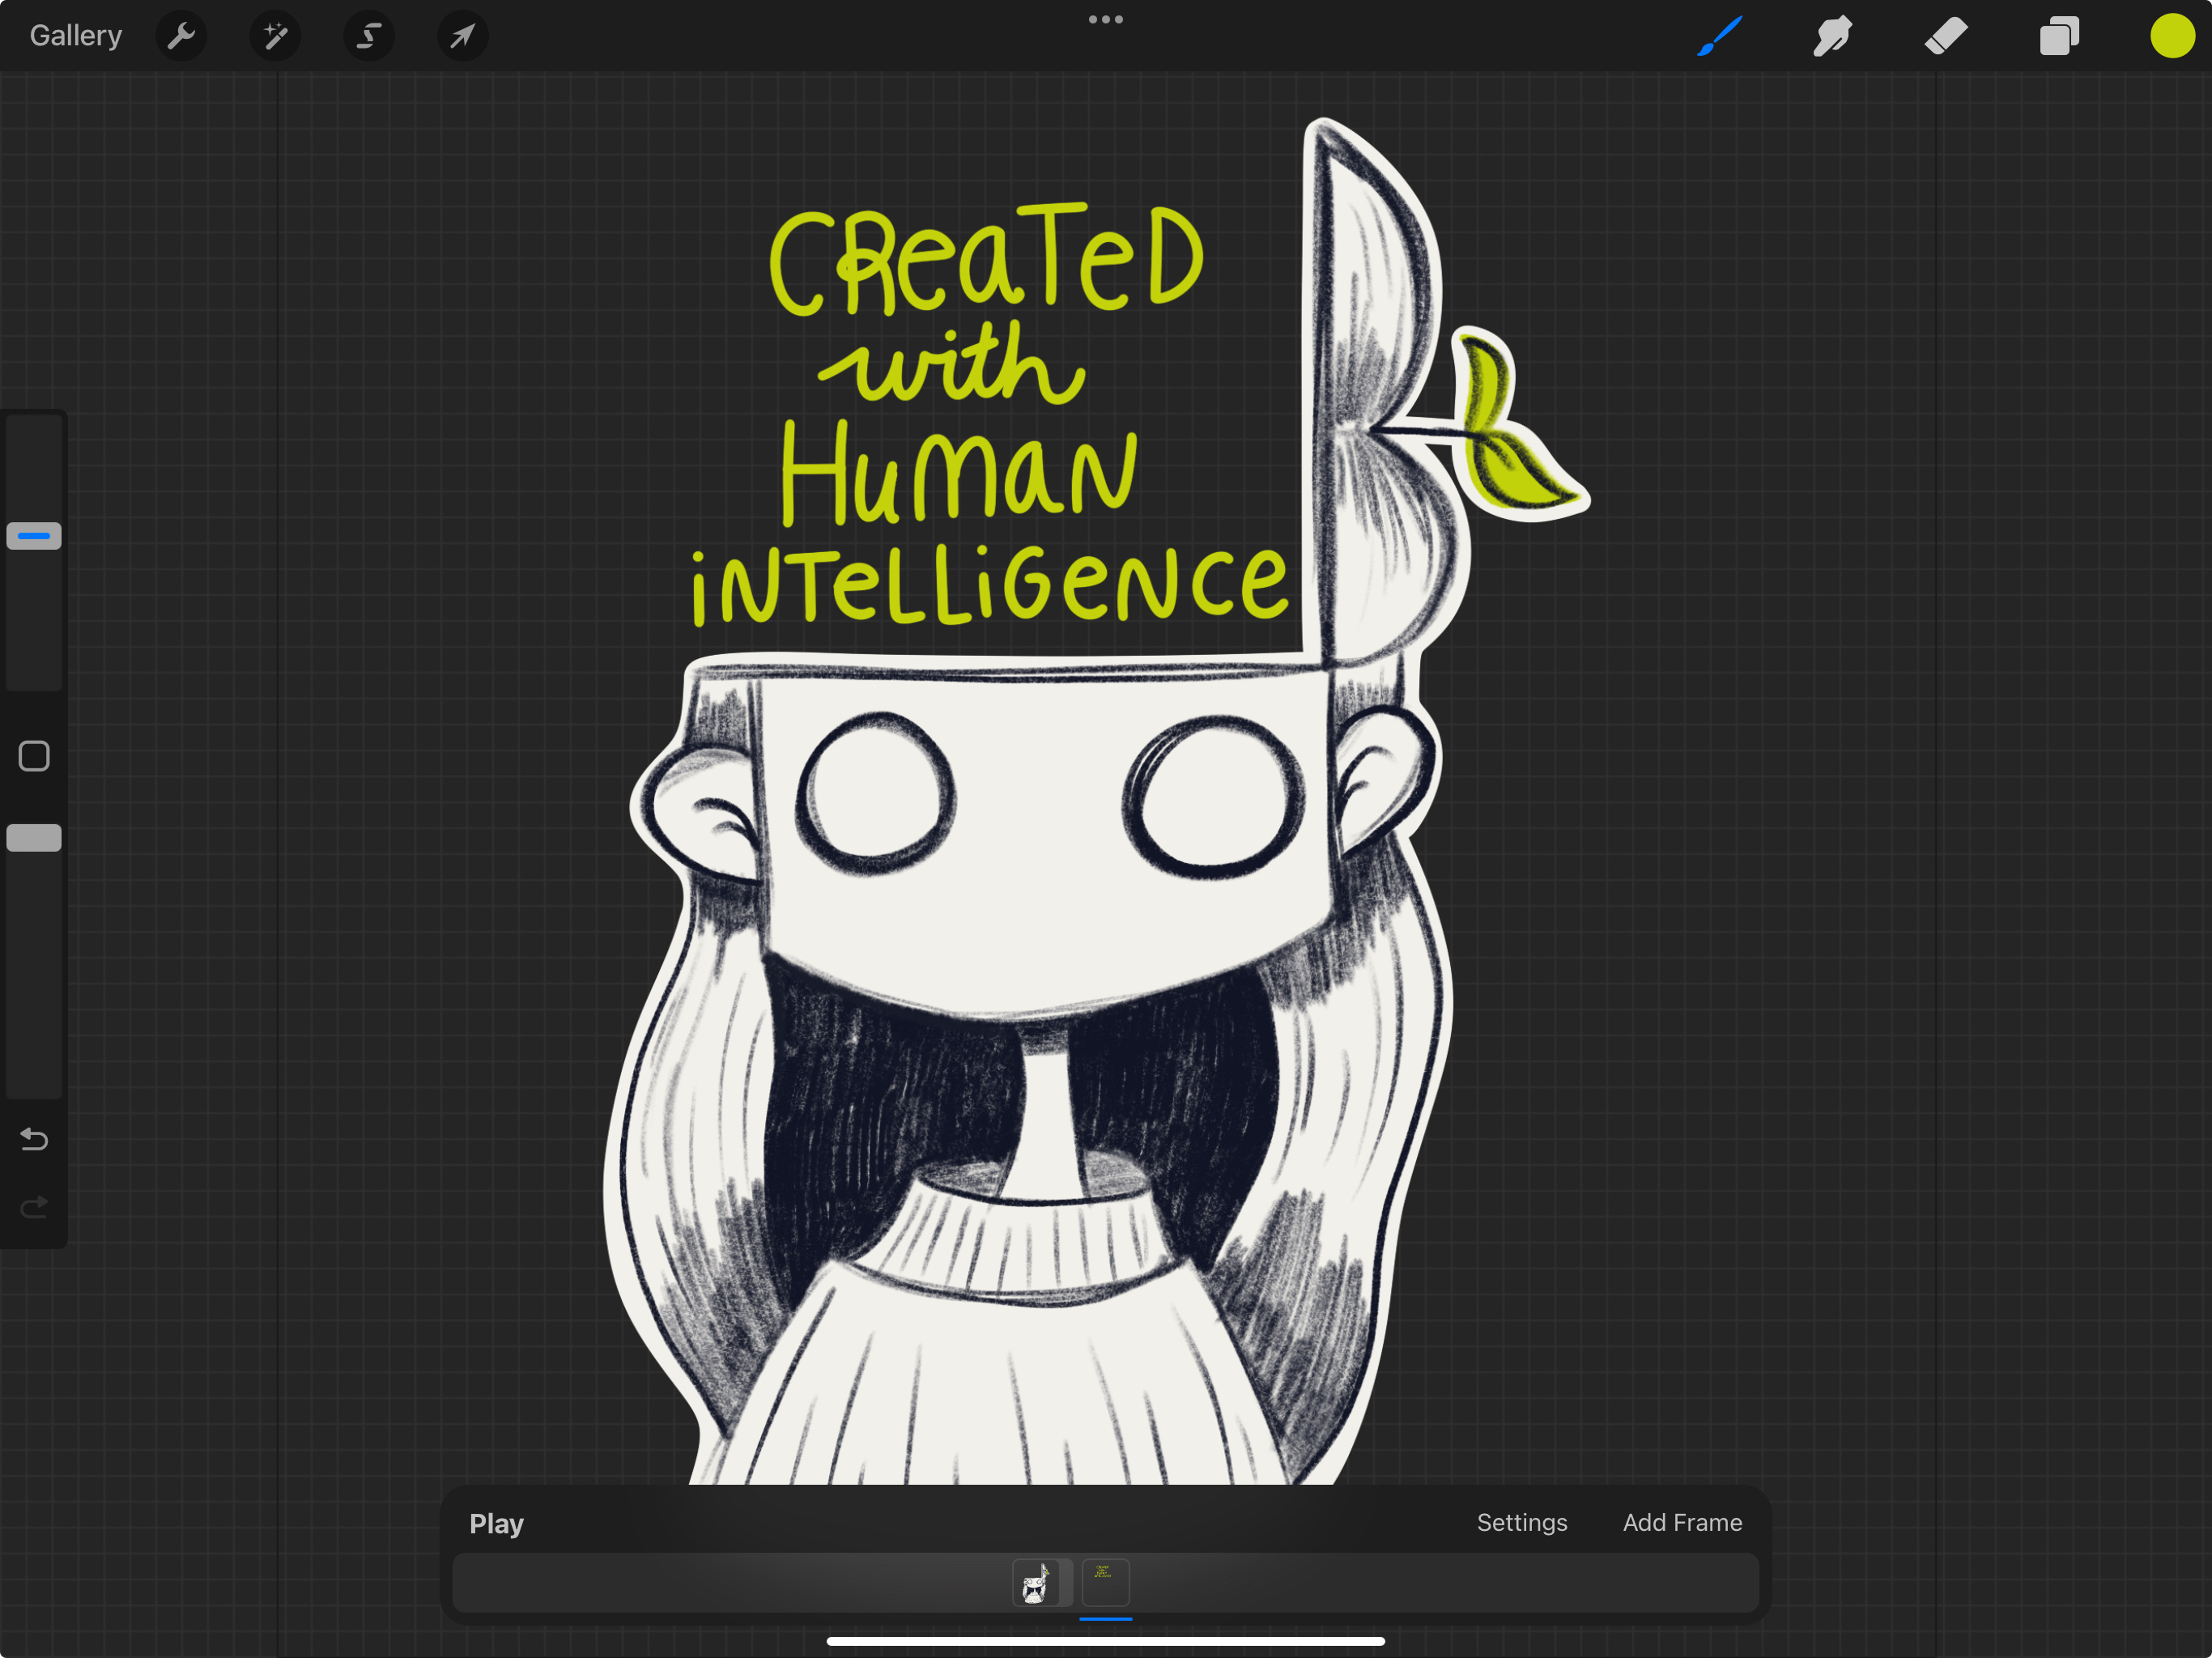
To make this work I’m going to use Option 1 on the text and Option 2 on the illustration.
Option 1 is pretty straightforward, I just redrew my text animation with a non-textured brush and now Procreate is happy.
But what about the illustration? That’s an awful lot of redrawing, not to mention the texture is a large part of the charm.
This is where Option 2 aka Sticker Mode (the very official name I just made up) comes in. We’re going to treat the illustration like a physical sticker by drawing an outline around it (with a non-textured brush!) and filling it in with color. See what I mean here:
Now when we go to export it again we can see its much better!
Obviously it’s not ideal, but it’s the work around that I’ve found most helpful so far. As I learn more about animation I’ll be sure to update this post if I find a better way of doing things. For now, we’re stuck with Sticker Mode.
Bonus: Using Your Gifs in Notion
One of my favorite ways to use gifs is by customizing my icons in Notion with them. I like seeing something other than the default icons and emojis and the little bit of movement adds a little zhuzh to my pages.
It’s really easy to do. Just go to “Add icon” at the top of your page. Go to the custom tab and drag and drop your gif file in there. Done!
The gif I showed in this tutorial is a bit too large and too detailed for this use case. If you want to make your own gifs for Notion you’ll want to keep them on the simple side and upload a gif that is around 280px x 280px.
Bonus: Using Your Gifs on Instagram
If you want to use your gifs on Instagram, you can make them available by uploading them to Giphy. When you search for an animated sticker on Instagram stories that search is powered by Giphy. In order to get your animations into that search you need to upload at least 5 gifs to Giphy and apply for a creator account. You can upload your stickers to Giphy without a creator account but they won’t be included in the search bar on Instagram.
Check out this article for more information if that’s something you’d like to do.
And with that, we conclude our Procreate animation tutorial. Phew! I sure am glad I split this up into two parts. That would have been an absolute monster of a post!
I had a lot of fun working on this tutorial. I learned a bunch while going through the process to prepare and I’d love to do more like this in the future! If you have any requests for future tutorials, or any questions about this one, leave a comment below:
See you next week!