Procreate Tutorial: Creating a Stamp from your Human Intelligence Badge
step-by-step tutorial on how to make an easy custom stamp brush in procreate
Hello again friends! I wanted to drop in with a quick Procreate tutorial this week. You may have seen some awesome human intelligence badges popping up here or on Instagram. This trend was started by Beth Spencer of The Introvert Drawing Club and turned into a draw this in your style challenge. You can find Beth’s post with her badge here.
These badges declare that your art, writing, videos, anything you create was made by human intelligence (aka YOU!)
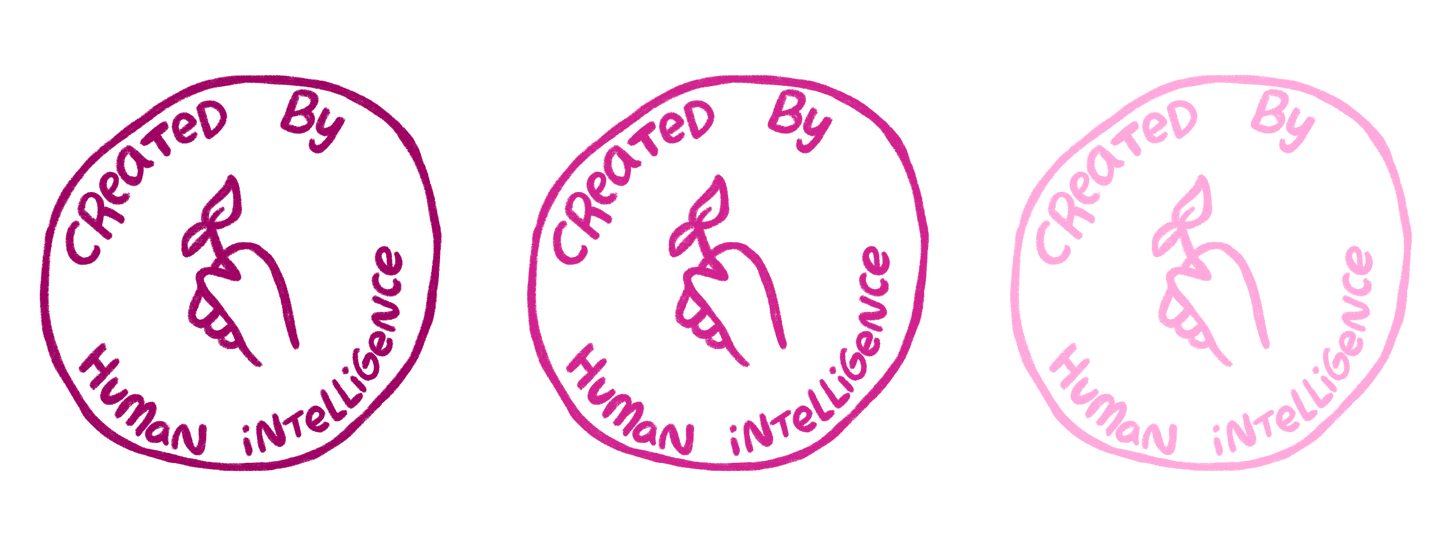
I love Beth’s version so much and the challenge in general, so I just had to join. Here is my version:
There are some incredible entries already, I encourage you to check them out (Beth shares a lot of awesome entries here on Substack and on her Instagram account!) and see how amazing and creative human intelligence is ❤️
After making my version, I was inspired to take it a bit further and turn my badge into a stamp brush in Procreate so I could simply stamp it onto my work in any color or size super easily.
In today’s post, I’m going to show you step-by-step how you can do the same with your version. Before we get started, you’ll either need to create your badge in Procreate or be able to bring it into the program.
Note: I have seen so many amazing versions of the badge that are gorgeous full color illustrations. Those are incredible! But for the stamp you’ll need a simple one color version. If your badge is still readable in a single color, read on!
You can use this same process for anything you want to make a stamp of, your signature, doodles you use a lot, etc. I like to make sparkles, stars, and dots into stamps so I can easily add a little extra flair to my illustrations ✨
Okay, ready to start?
Step 1: Bring your badge into a square canvas in Procreate. If you are drawing your badge from scratch I would recommend 2500px x 2500px at 300 dpi. The larger the canvas the larger we can make the stamp without it getting blurry!
Step 2: Once you have your badge drawn or copied in, we need to change the color to black for maximum contrast (this is important for the brush making process!) You can do this a few ways, so do it however you are comfortable. If you have no idea how to do it here are two different options:
Use the recolor tool (if you don’t know what this is, don’t worry I’ll be making a post about it in the future, for now try the next option)
Add a new layer above your badge layer, fill it with black, create a clipping mask to your badge layer, then merge the two layers together.
Note: You can see both of these options demonstrated in the screen recording at the end of this post if you are a more visual learner!
Step 3: Making sure you have a white background (remember we are going for maximum contrast!) use the quick menu and select copy all then paste.
Note: My quick menu is accessed with a three finger swipe, but yours may be set up differently, this is what the menu looks like:
You should now have a layer that is your badge in black on a white background all in one layer, like this:
Step 4: Tap on your new all-in-one layer and select invert. This is going to invert the colors so your badge is ready to be turned into a stamp.
Step 5: Select your inverted layer and select copy.
Step 6: If you already have a brush group for your custom brushes go ahead and skip this step. If not, tap the brush icon then swipe down until you see this blue + button. Tap that to create a new group. You can call it whatever you like but I suggest something like “My brushes” or “Custom brushes” so you can easily find it later.
Step 7: Inside your new brush group, tap the + button inside the group. (Pictured above its in the top right corner). This is going to open the brush studio! If you’ve never seen this before, don’t panic, there is a lot here but I’m going to walk you through only what you need to create this stamp so you don’t get overwhelmed.
Step 8: Make your new brush inside the brush studio following these steps.
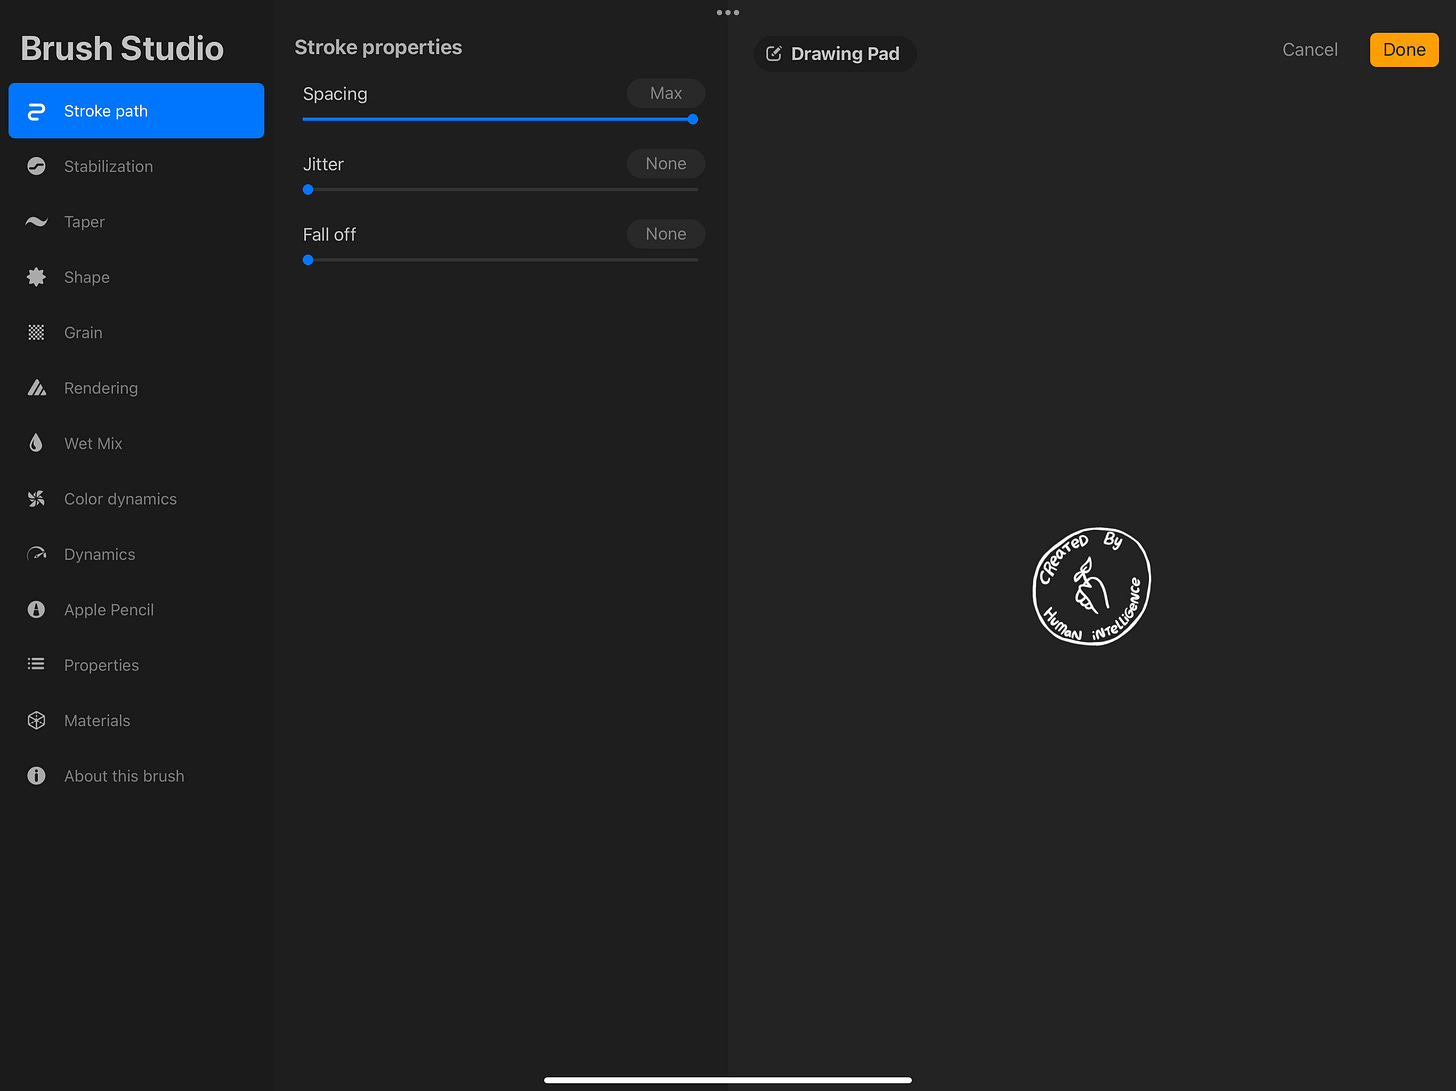
Under Stroke path adjust spacing all the way to the max as shown below.
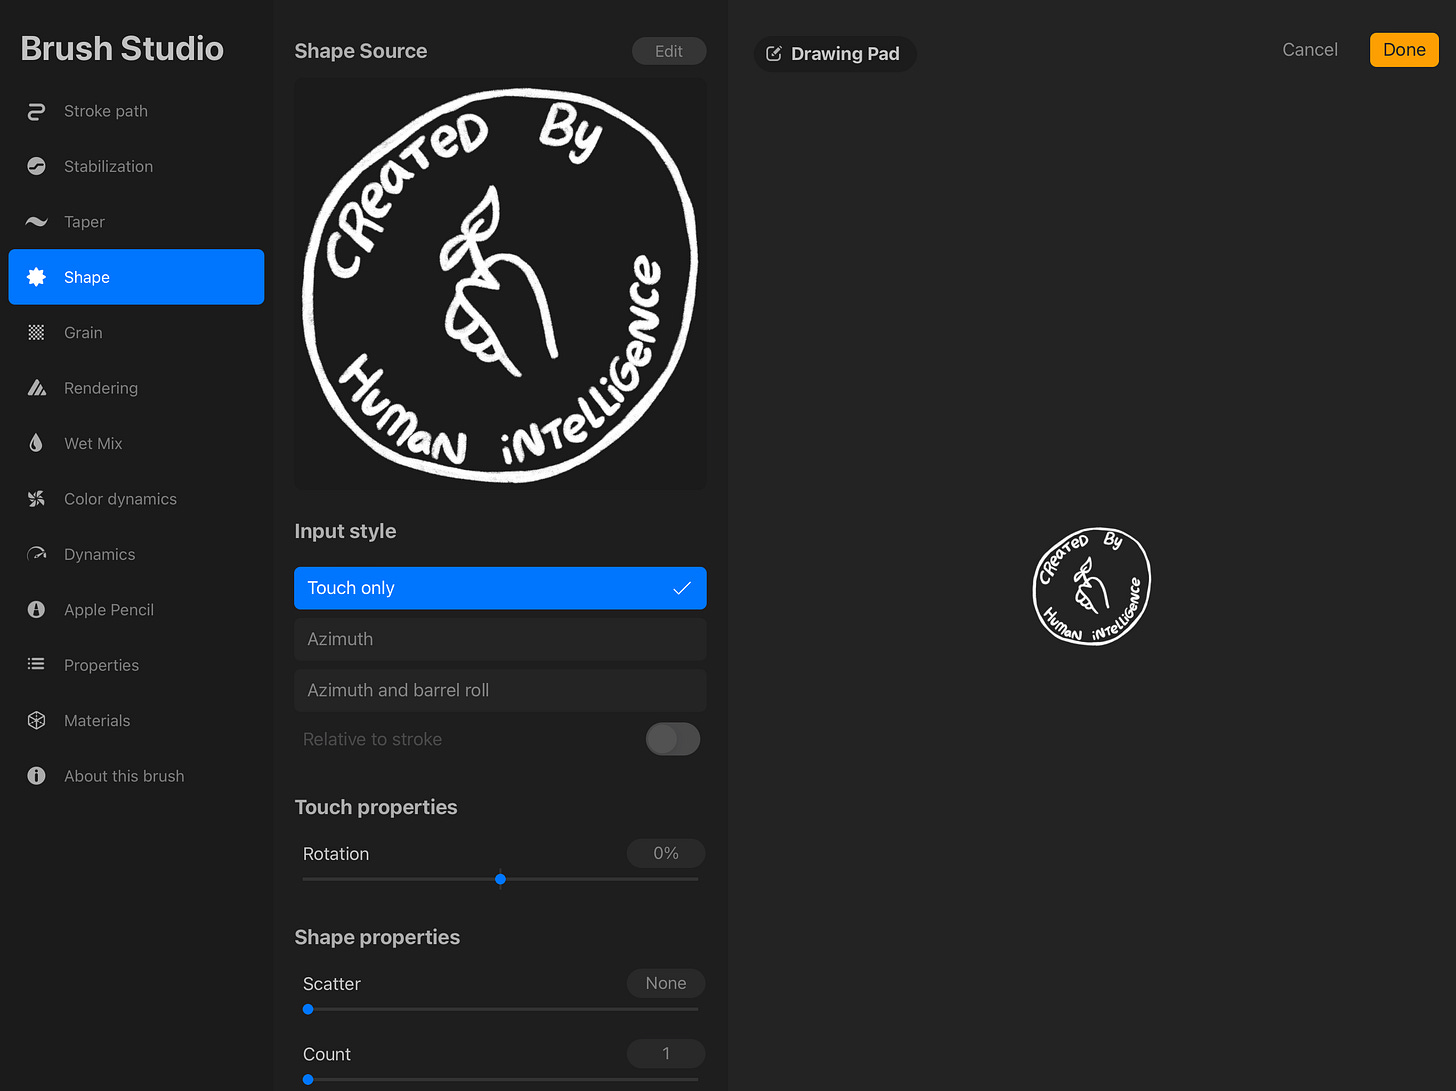
Now for the most important part, adding your badge! Under Shape tap edit. This will take you to a shape editor. Inside the shape editor tap import, then paste. You should now see your badge! Tap done to save your changes.
Back in the main brush studio view, go to Apple Pencil. Under pressure drag the opacity slider all the way to zero.
Finally, under Properties drag the Maximum size slider all the way up and toggle Use stamp preview to the on position.
Bonus: Save your brush settings and sign your creation! If you go to About this brush you can create a new reset point to save this brush with all these settings. This is helpful if you want to experiment with some of the settings to see what happens but don’t want to lose all the hard work you’ve already done. Once you create a reset point you can always come back to this tab and tap reset brush to reset it to your saved state. You can also name your brush on this screen, add your name as the creator and even add your signature. Give it a try, if you like!
Important: when you are done adjusting your settings on your new brush tap the done button in the upper right corner to save your brush!
That’s it! You did it! Once you exit the brush studio you should see your brand new brush and have it selected. Go ahead and choose your favorite color, adjust the size with the slider as needed, and stamp away!
I made a quick screen recording showing all of the steps, but if you’d like me to do a full video tutorial with a voice over let me know in the comments, if there’s enough interest I’ll record one! Please also let me know if you need any clarification on any of the steps or have any questions as well 😊
That’s everything I have for you today. I hope you enjoyed this “quick” tutorial (turned out kind of long in the end didn’t it? 😂). See you next Thursday!


Hallo! Kann mir Jemand sagen, ob das Programm " Procreate" auch für Androit erhältlich ist ?
This is great--thank you!