Procreate Tutorial: 3 Easy Ways to Animate a Gif
step-by-step instructions on creating 3 simple animations in Procreate
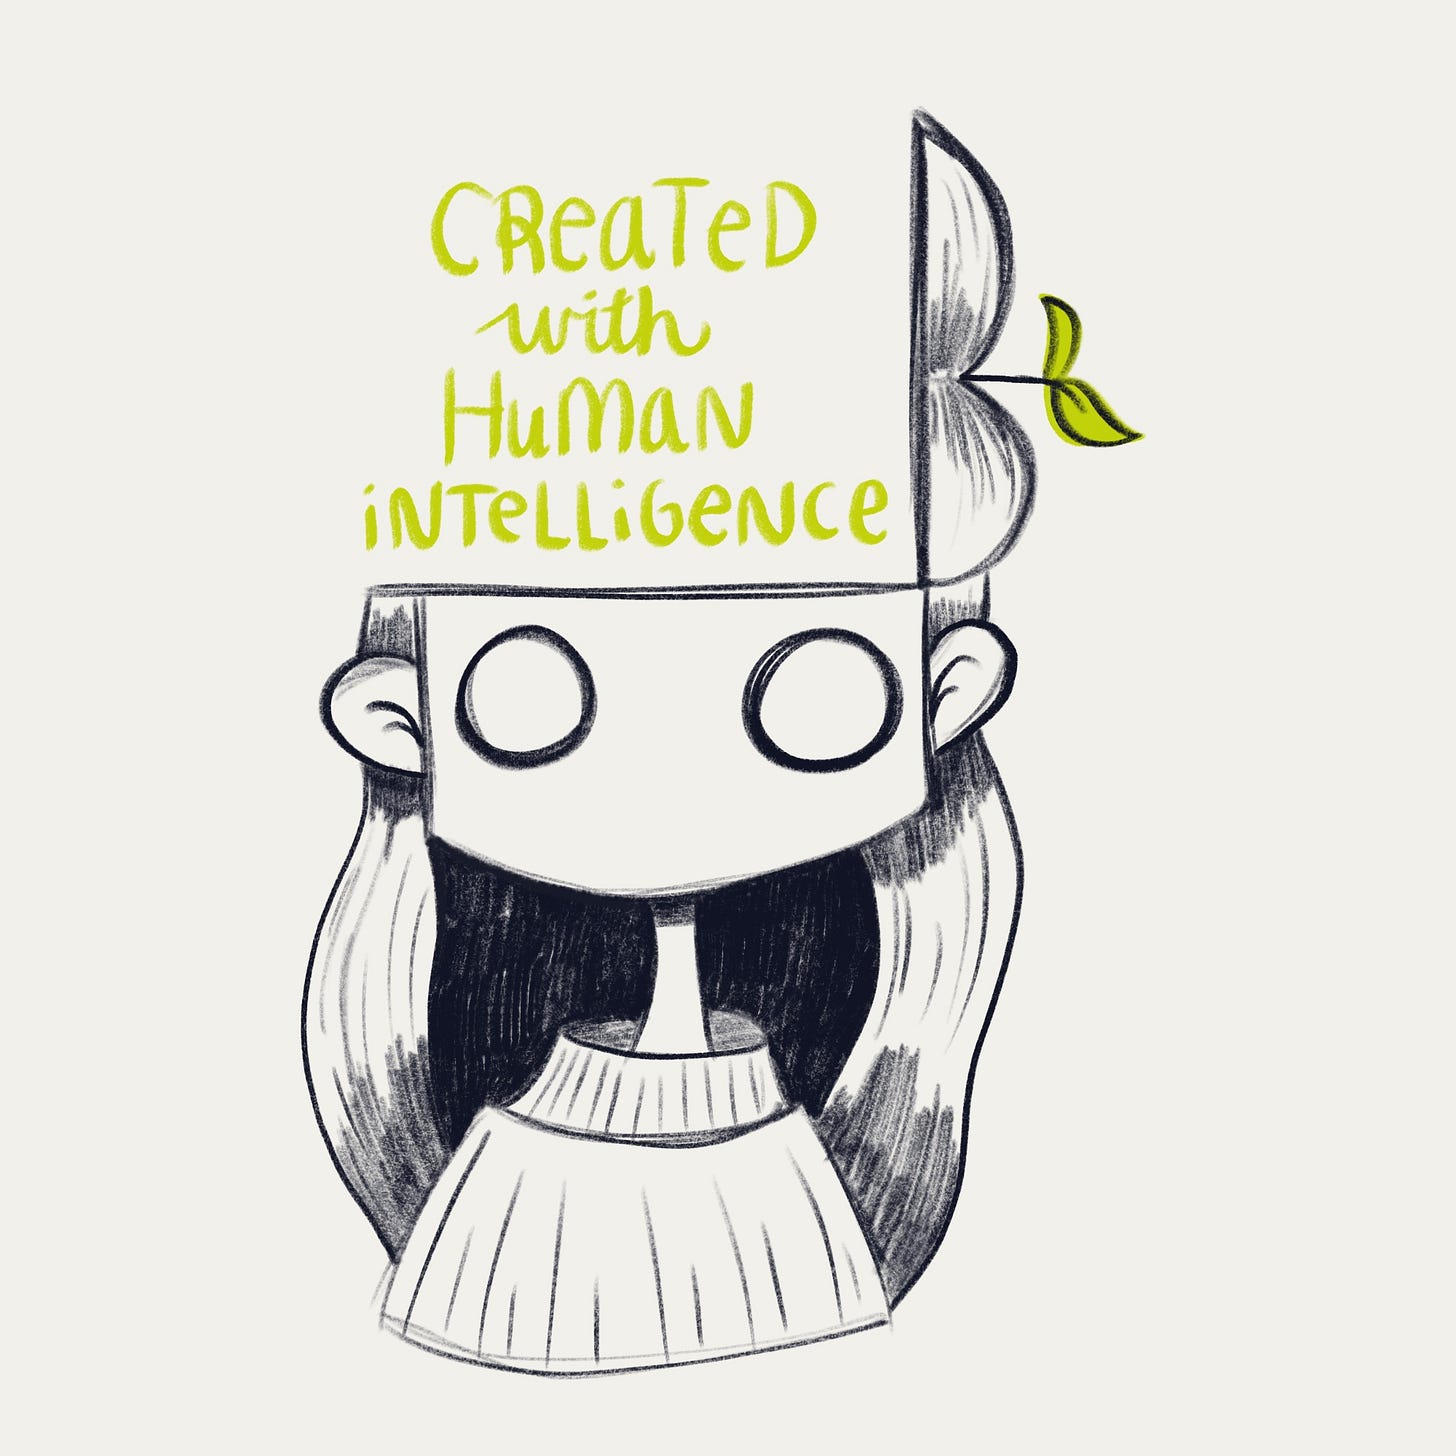
Back in June I made this tutorial on how to create a stamp brush in Procreate out of your Human Intelligence badge. Beth Spencer (creator of the original Human Intelligence badge, it’s wildly popular DTIYS and Introvert Drawing Club ) suggested I make another tutorial about how to animate it and how could I resist?
Animating in Procreate can be a little intimidating, but like making a brush, it’s super easy once you know a few of the basics!
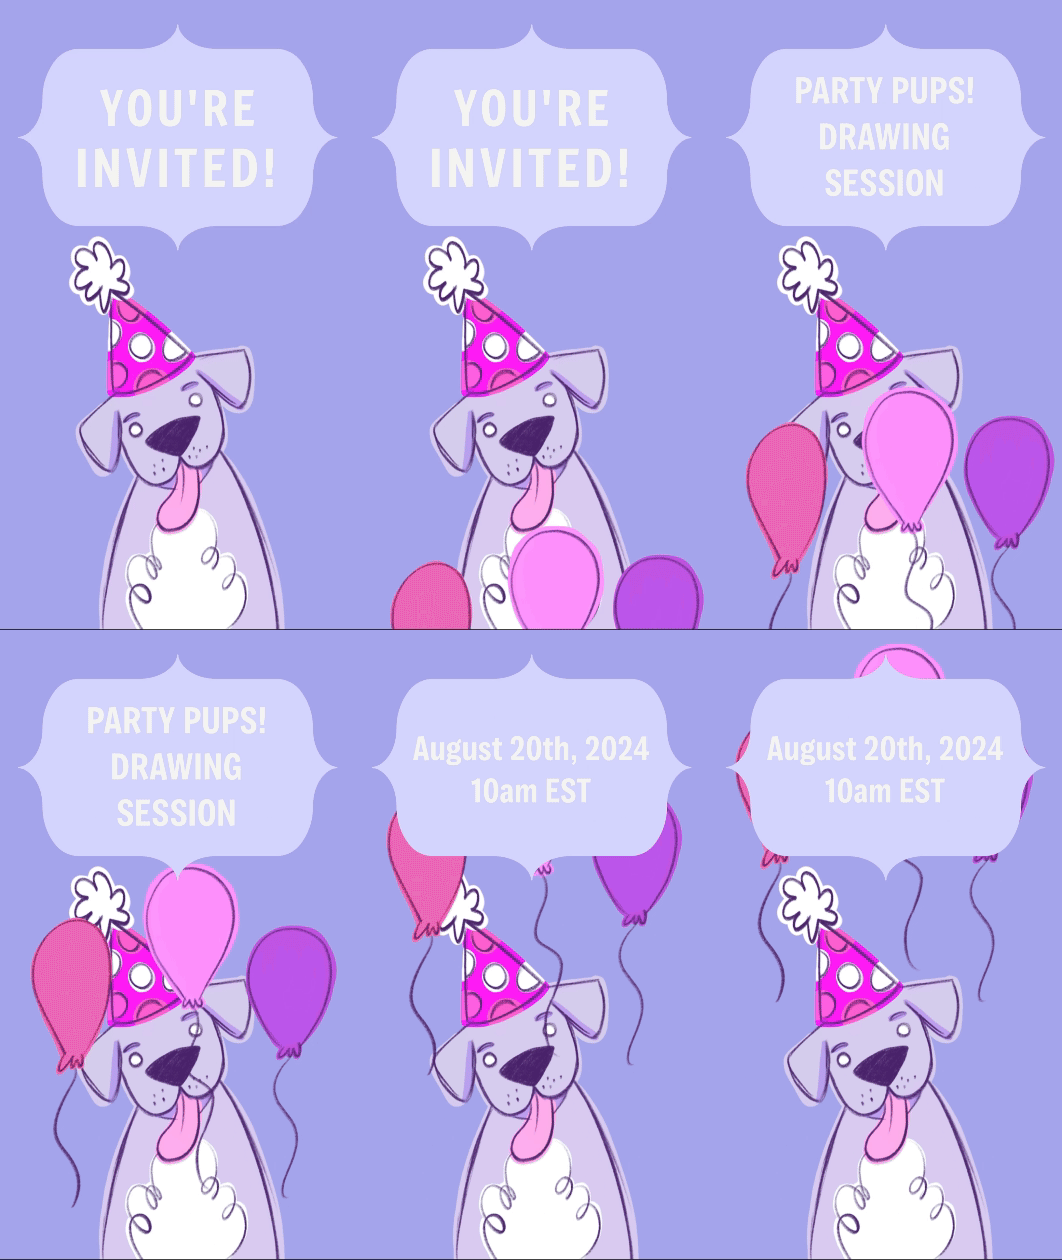
I like to use Procreate to create simple animated videos like this one I made to announce our upcoming Party Pups! Drawing Session
Psssstt…you can register for that session by clicking this link!
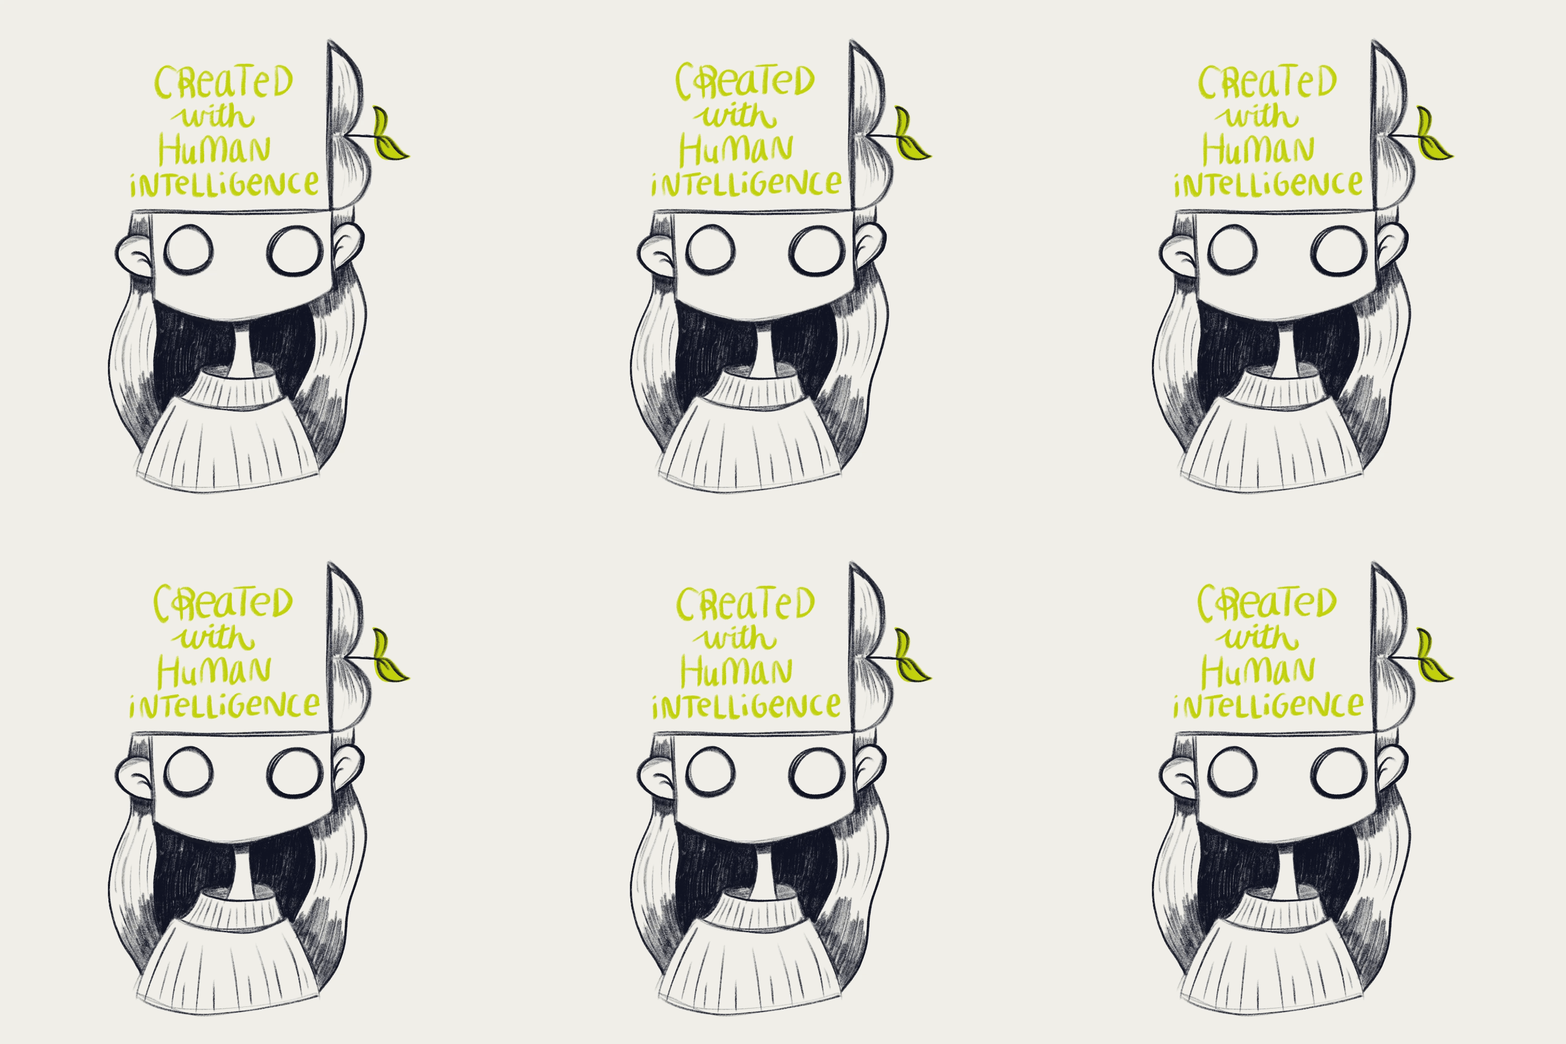
I also like to make gifs with a transparent background, these are the kind you find in Instagram stories but they can also be used elsewhere. I like to add small gifs to Notion pages instead of standard emojis as the icon.
Because this tutorial was Beth’s suggestion I thought it would be a good opportunity to revisit my version of the Human Intelligence badge. I’ve been wanting to make a new one that incorporated my comic character and this was just the perfect excuse!
Without further ado, may I present…
3 Easy Ways to Animate in Procreate
First up you’ll need an illustration that you want to animate. In my example I will be using my new Human Intelligence badge but of course you can animate anything you like.
The key is to have whatever you want to animate on separate layers. For me in all three examples I will be animating the text so I would need the text to be on its own layer.
Animation #1: Wiggly Text
Step 1: Turn on Animation Assist
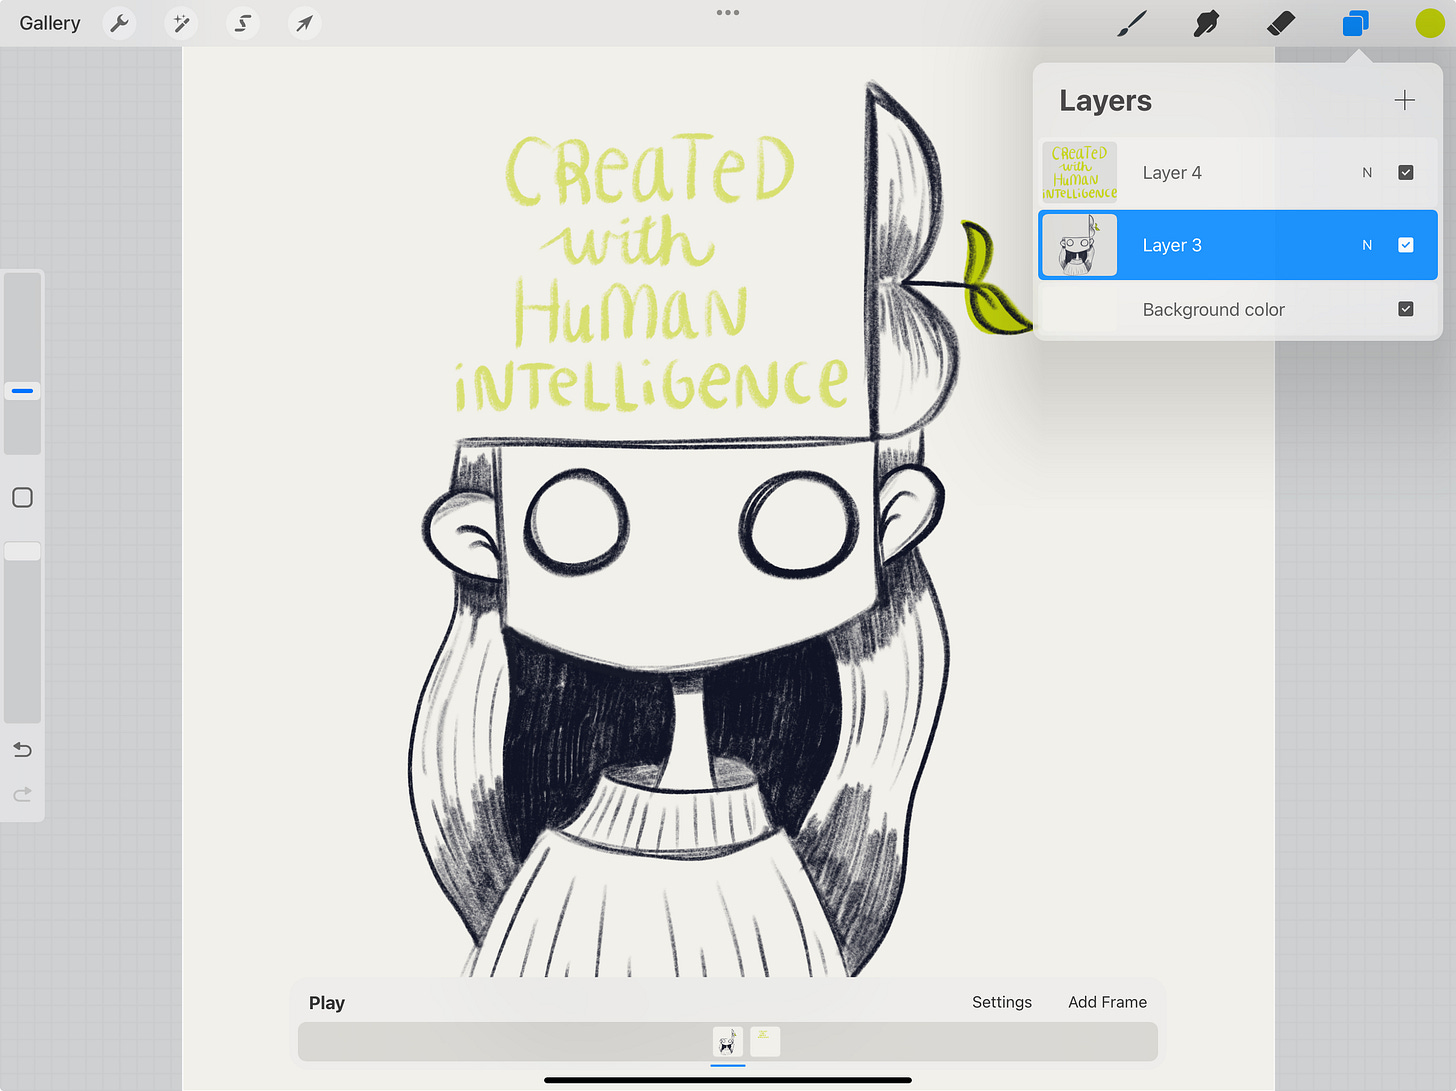
Tap the wrench icon to bring up the Actions menu. Tap over to the Canvas tab and toggle on Animation Assist.
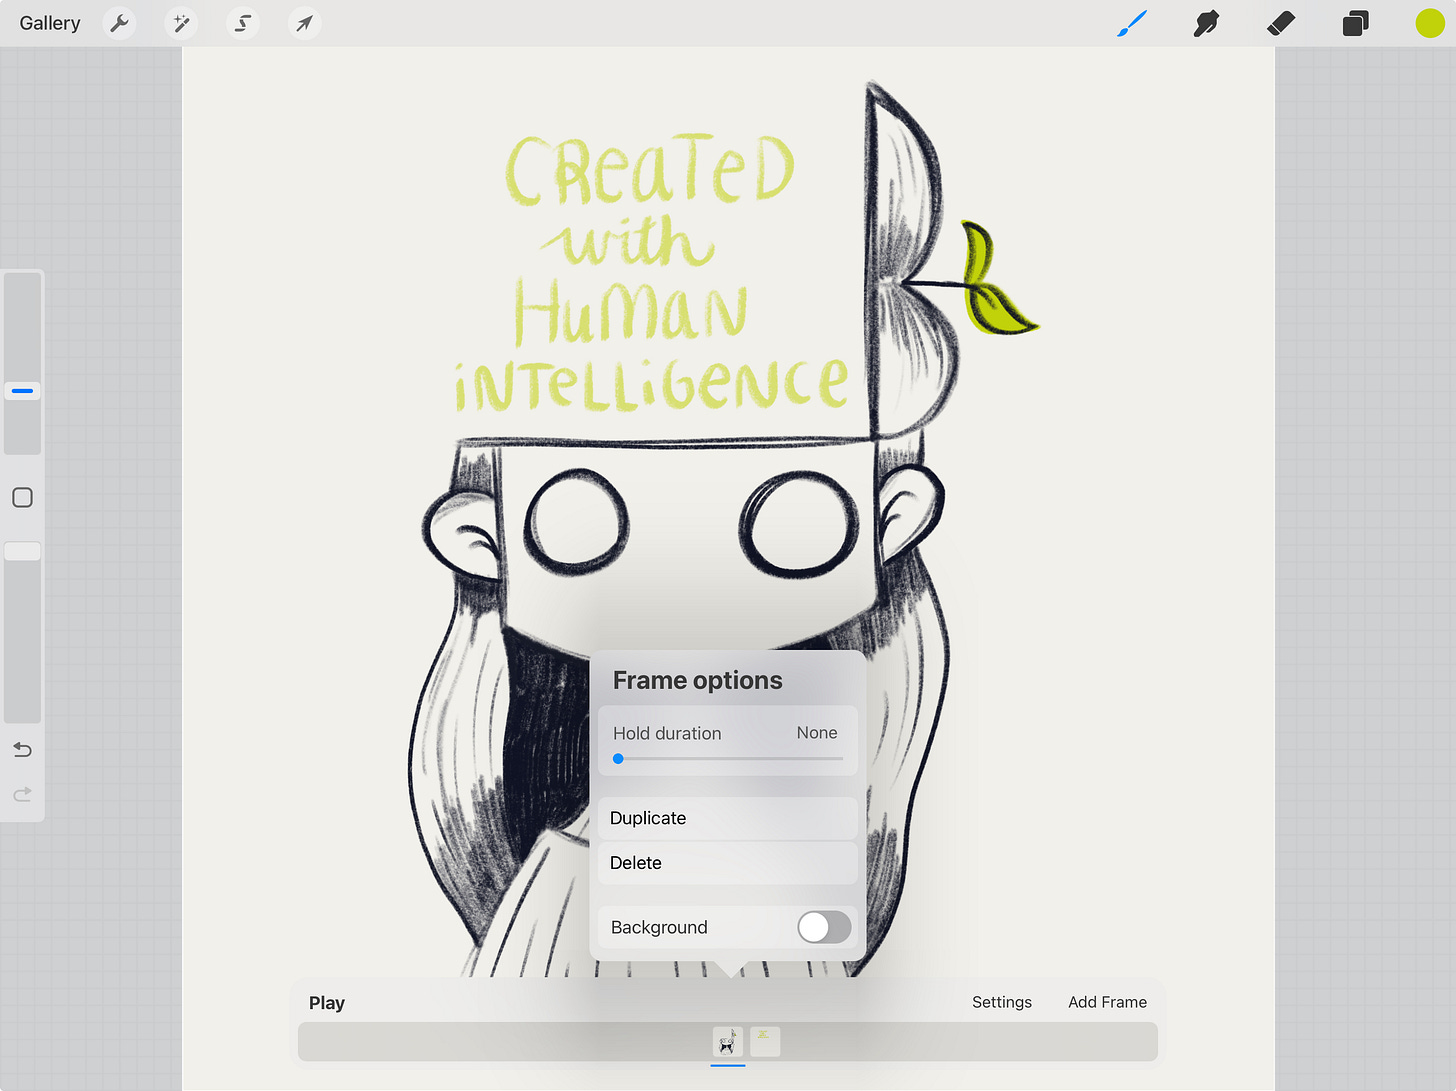
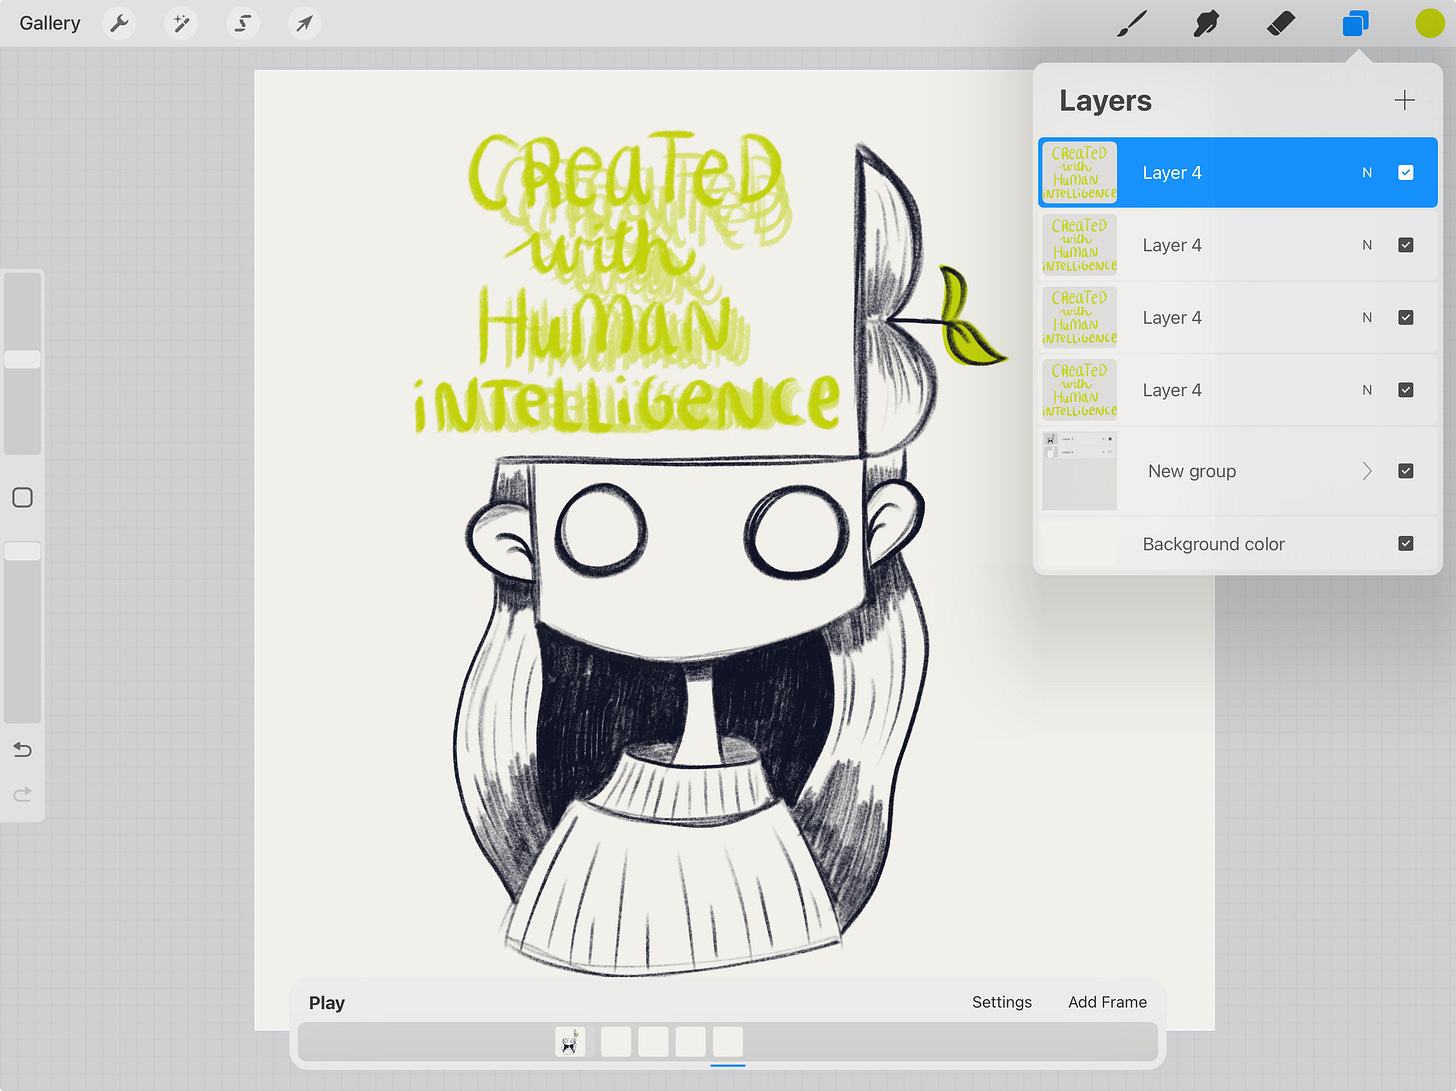
Note: now that Animation Assist is on your layers (and groups) will be treated as animation frames. This is the key to animating in Procreate! Each layer or group is one frame in the animation. Your frames are displayed in the bottom bar you can see in the image above. As you can see you have two frames in the bar and two layers in the layer menu.
Step 2: Set your background
For this animation only the text is changing, we want the character to stay the same the whole time. However, we need to make a quick change to make that happen! If you hit play right now you’ll notice that the animation shows just the character, then the text, never both together!
Go ahead and tap on the frame with the character.
This will bring up this little menu you see here. Toggle background on. This sets the layer to be your background, meaning it will be unchanging and present throughout the duration of the animation.
Excellent! You’ll notice now if you tap play nothing happens. Not to worry we’ll fix that now!
Step 3: Add a new layer above the text layer
Remember layers are our frames so we need to make a new layer to make a new frame in the animation.
Step 4: Adjust onion skin opacity to your liking
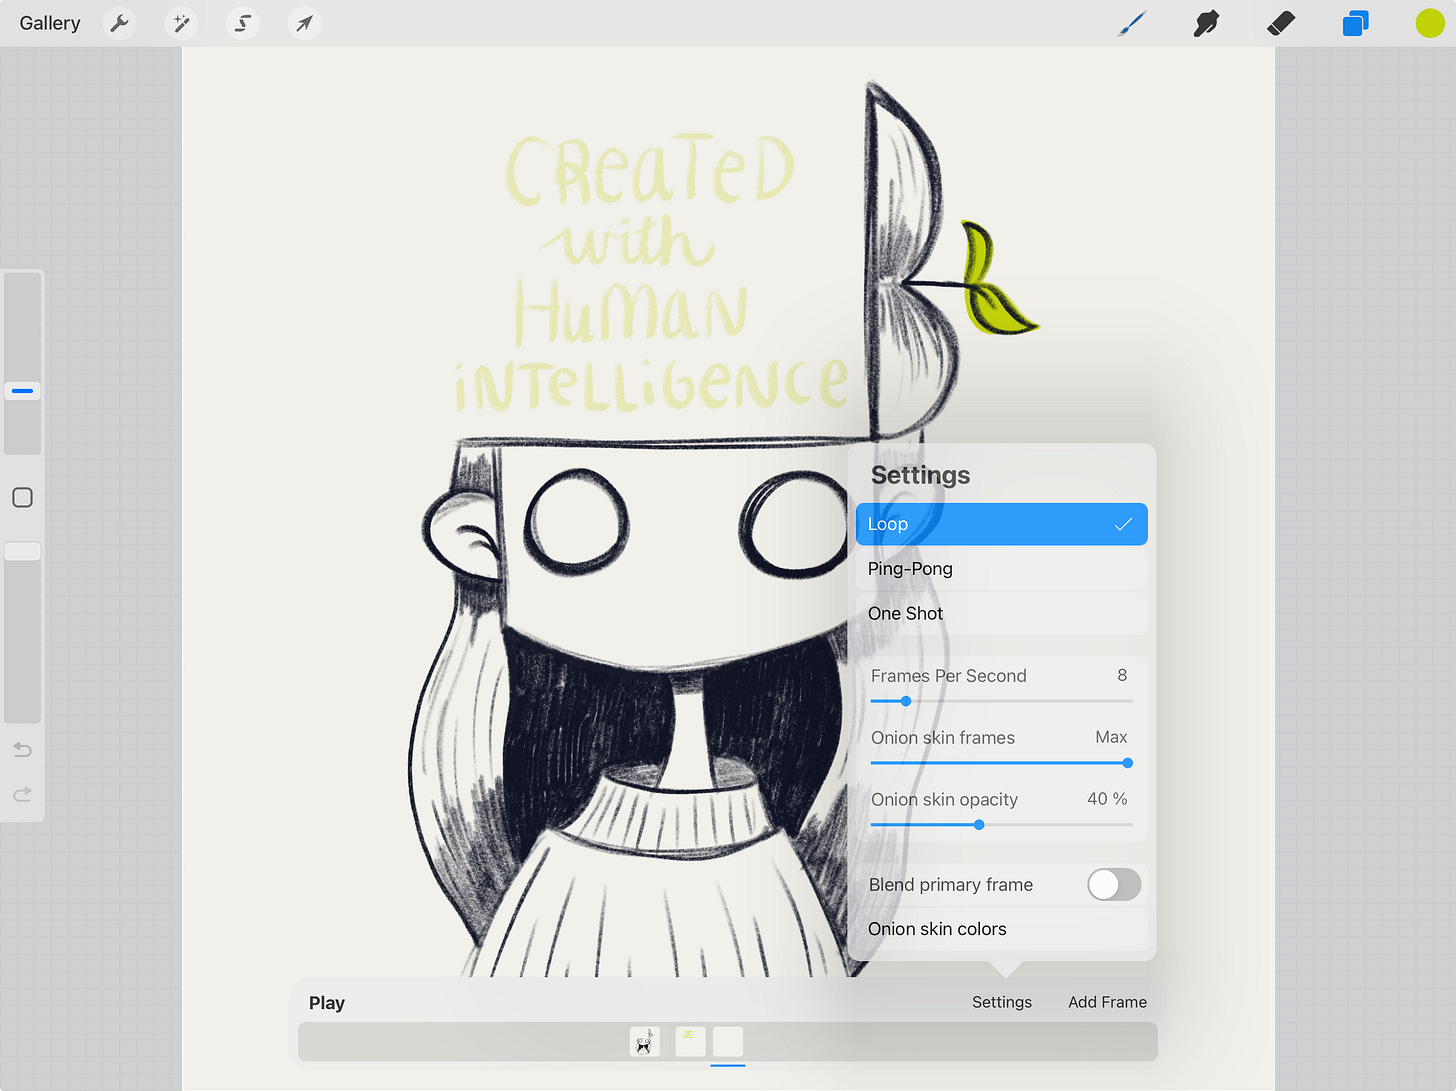
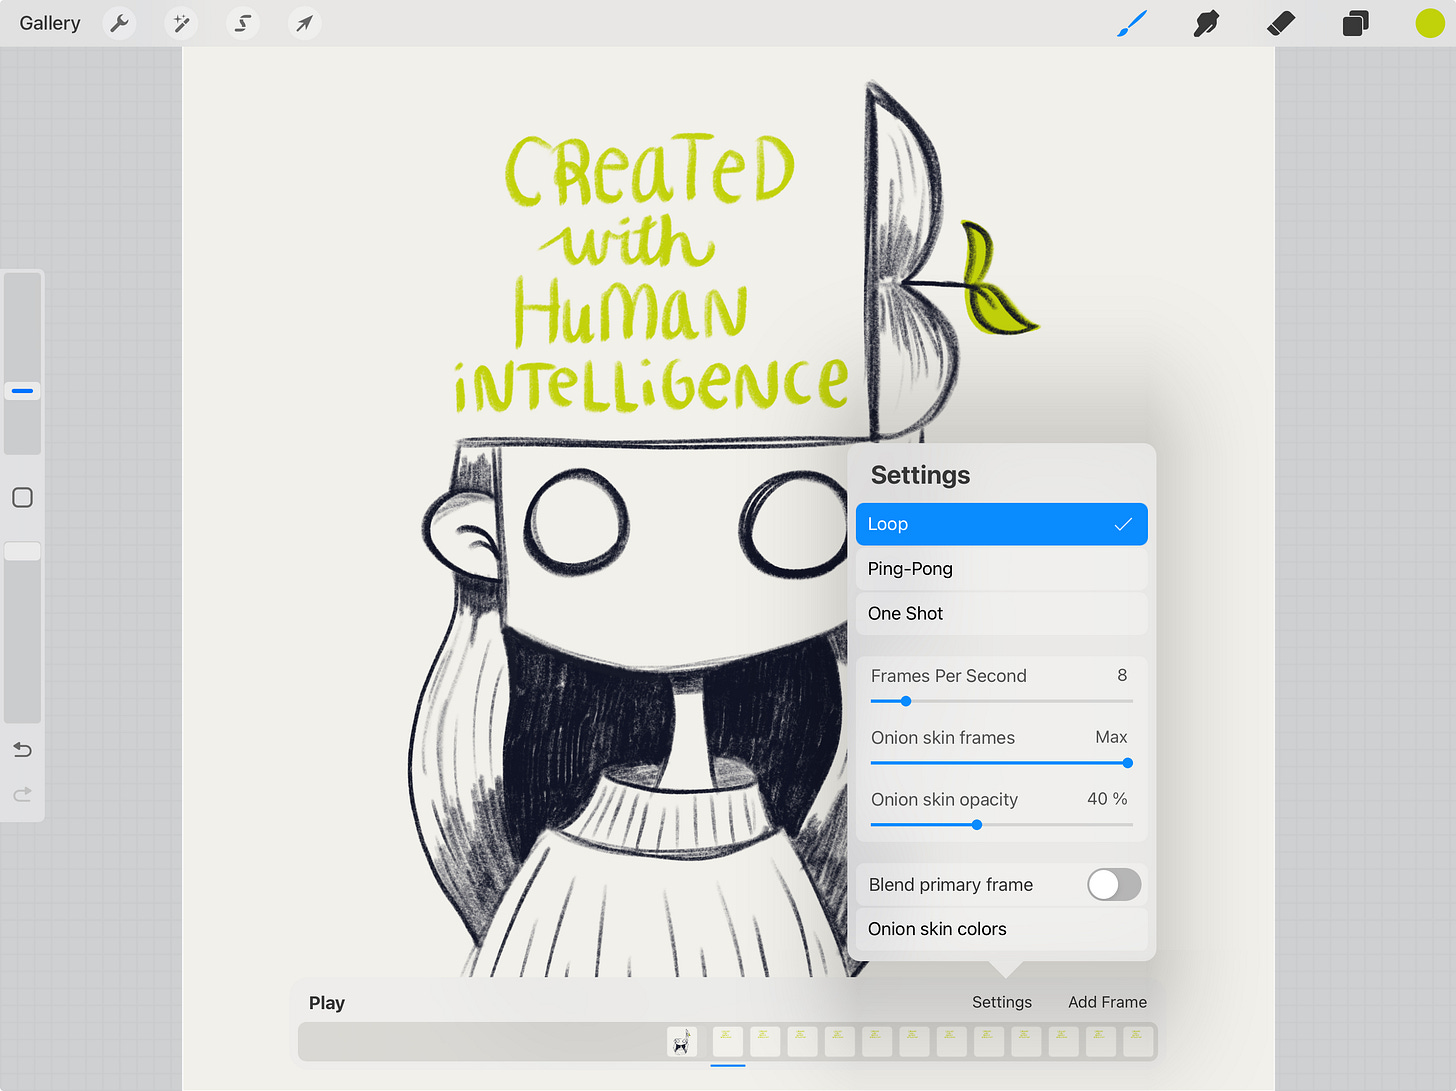
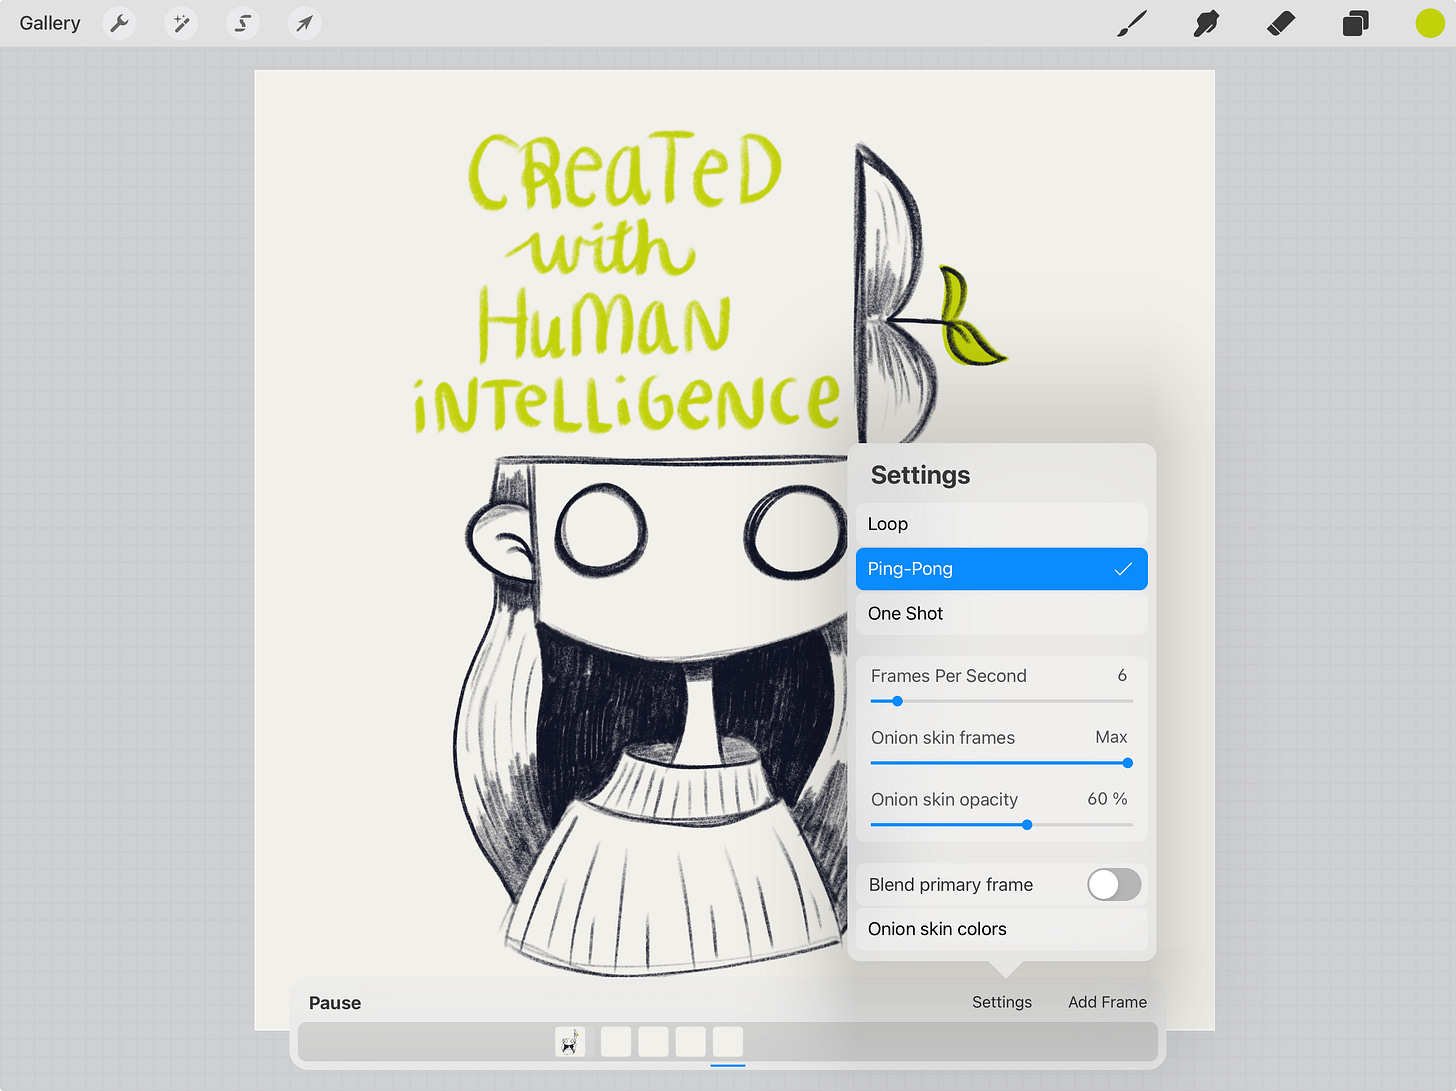
Tap on the settings in the animation bar to bring up this menu. You can go ahead and copy my settings now if you like, but don’t worry we’ll cover everything you need to know in due time.
For now I’d just like you to check the Onion skin opacity slider. This adjusts how strongly you can see the previous frames when working on a different frame. For example, this is what it looks like on our new layer. You can see the text on the layer below but the opacity is lowered. Our background is ever-present and therefore not transparent at all.
Adjust yours so that you can see your text but it’s not so strong that it distracts you.
Step 5: Write your text again on top by tracing the onion skin
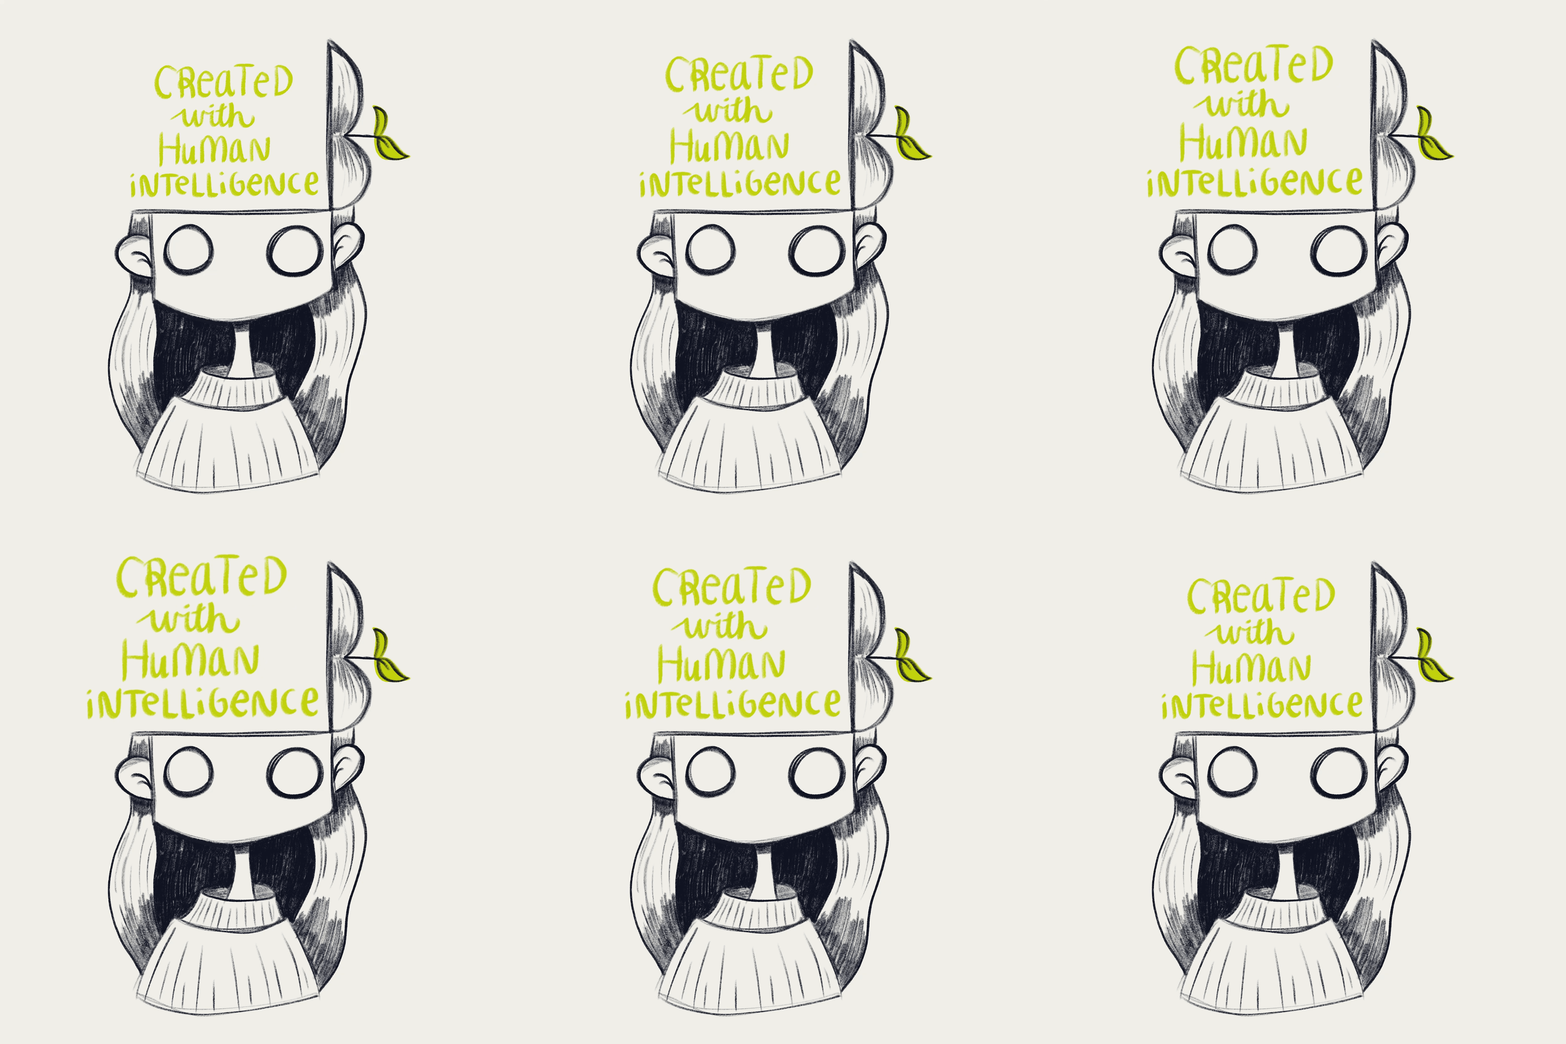
This is where the wiggling comes from! You’ll want to rewrite your text on your new layer using the onion skin as a guide. The closer you stick to your original text the less movement you will see when you press play and the further you drift from the original the more movement you’ll get. It’s a balance so you may need to play around with it to find what you like.
Step 6: Repeat one more time
I like to draw three layers of text but this is optional. You can just stick to two if you want, or you can do a few more to add even more variety to the final animation.
Step 7: Adjust animation settings
Wait! Before you press play you likely need to make some adjustments (let’s be honest you’ve probably been pressing it at each step, but don’t be too disappointed yet this step is where the magic comes together).
By default Procreate sets the frames per second quite high (I think 15). This is likely way too fast for your animation and it looks a little off kilter.
The first thing we want to do is bring that number down.
Frames per second adjusts how many frames are shown in the animation per second, the lower the number the slower the animation and the higher the number the faster. Higher numbers result in much smoother animations but require a lot more finesse and a lot more frames.
For our purposes, you probably want to adjust this somewhere between 5-9 frames per second.
Before you leave make sure either Loop or Ping-Pong is highlighted at the top. Loop plays the animation in a loop like it sounds, it starts over at the beginning each time. Ping-pong plays the animation in a loop as well but it goes forwards, then backwards, then forwards again, playing the animation in reverse before starting over.
One Shot only plays the animation once then stops (not likely to be very helpful for this tutorial but now you know).
Step 8: Okay, now press play!
You can see your beautiful animation! Yay! Wasn’t that easy?
Notice that while the animation is playing you can see it moving along the frames in the bottom bar. The more frames you have, the longer your animation will run.
To make my animation longer I duplicated the 3 layers of text a few times (if you want it to repeat perfectly make sure you keep the layers in the correct order).
In Part 2 of this tutorial I will go over how to export your new creation so if you don’t know how to do that yet never fear! This tutorial is a bit ungainly in length already though so I hope you’ll forgive me for splitting it in two and making you wait a week.
Don’t worry about exporting it for now, let’s quickly go over the next two types of animation. The set up steps will be exactly the same so if you are following along repeat the beginning set up steps on a new file so you are ready to animate again.
Tip: To quickly make a new file to test out the next animation style I suggest you make a duplicate of the one you’ve just worked on! Go out to the gallery, swipe left on the file you just made and tap Duplicate. In the new file, (make sure it’s a duplicate!) delete all but your background illustration and one text layer.
Animation #2: Grow and Shrink
Step 1: Follow steps 1, 2 and 4 in the previous instructions if you didn’t duplicate your file
If you did duplicate your file, your animation settings should have transferred so you should be good to go.
You should have one background illustration layer and one layer with your text (or whatever you want to animate the size of).
Note: this animation style will work best if you write your text at the biggest size you want it as the first layer. I didn’t for my example and it turned out fine, but generally you will want to size things down in Procreate rather than up to preserve image quality.
Step 2: Duplicate your text layer
Open the layers menu, swipe left on the layer you want and tap duplicate.
Step 3: Resize and reposition
Tap the arrow icon in the menu bar to open the Transform options. We’re going to keep this really simple and just change the size of our text.
Make sure Uniform is highlighted, this ensures we won’t be distorting our image or text at all during resizing.
Use the blue dots around the edges of your text and resize it slightly. Adjust the position if you need to. The goal is to make an incremental change so the animation is smooth.
Step 4: Repeat steps 2-3 as many times as you like
Each time change the size a little bit more until you’ve reached the final size you want.
I used four layers to achieve the effect in the example.
Tip: If you want to preserve the maximum amount of quality duplicate one layer multiple times instead of duplicating your changes each time. Every time you make a size change in Procreate you lose a little bit of image quality. To prevent this you can have a “back up” layer that is a copy of your original layer. When you need a new layer simply duplicate this “back up” and adjust it as much as you need. If you duplicate and resize, then duplicate that resized layer and resize it again, etc you will likely notice it eventually begins to get blurry. The same goes for moving and rotating not just resizing.
Step 5: Adjust Animation Settings
For this animation I found that 6 frames per second felt right and here you can also use Ping-Pong to see how that looks! Adjust to your liking.
Step 6: Press play again and admire your animation!
Well done, you!
Let’s move on to the final animation style, shall we?
Animation #3: Color Change
Step 1: Go ahead and duplicate and clean up your file again so you’re in a fresh state and if you didn’t duplicate follow steps 1, 2, & 4 of the first example.
Step 2: Duplicate your text layer so you have two copies of your text.
Step 3: Recolor your new layer in another color.
You can do this a few ways. Whichever is your preferred way is what I would suggest. If you have no idea how here is a quick and easy way:
Turn on alpha lock on your layer by swiping right on the layer with two fingers (or tapping on the layer and then tapping alpha lock). Using a nice big solid brush (the Hard Brush in the default Airbrushing brushset is a good choice) paint over the layer in your new color.
Step 4: Repeat steps 2-3 for as many colors as you want
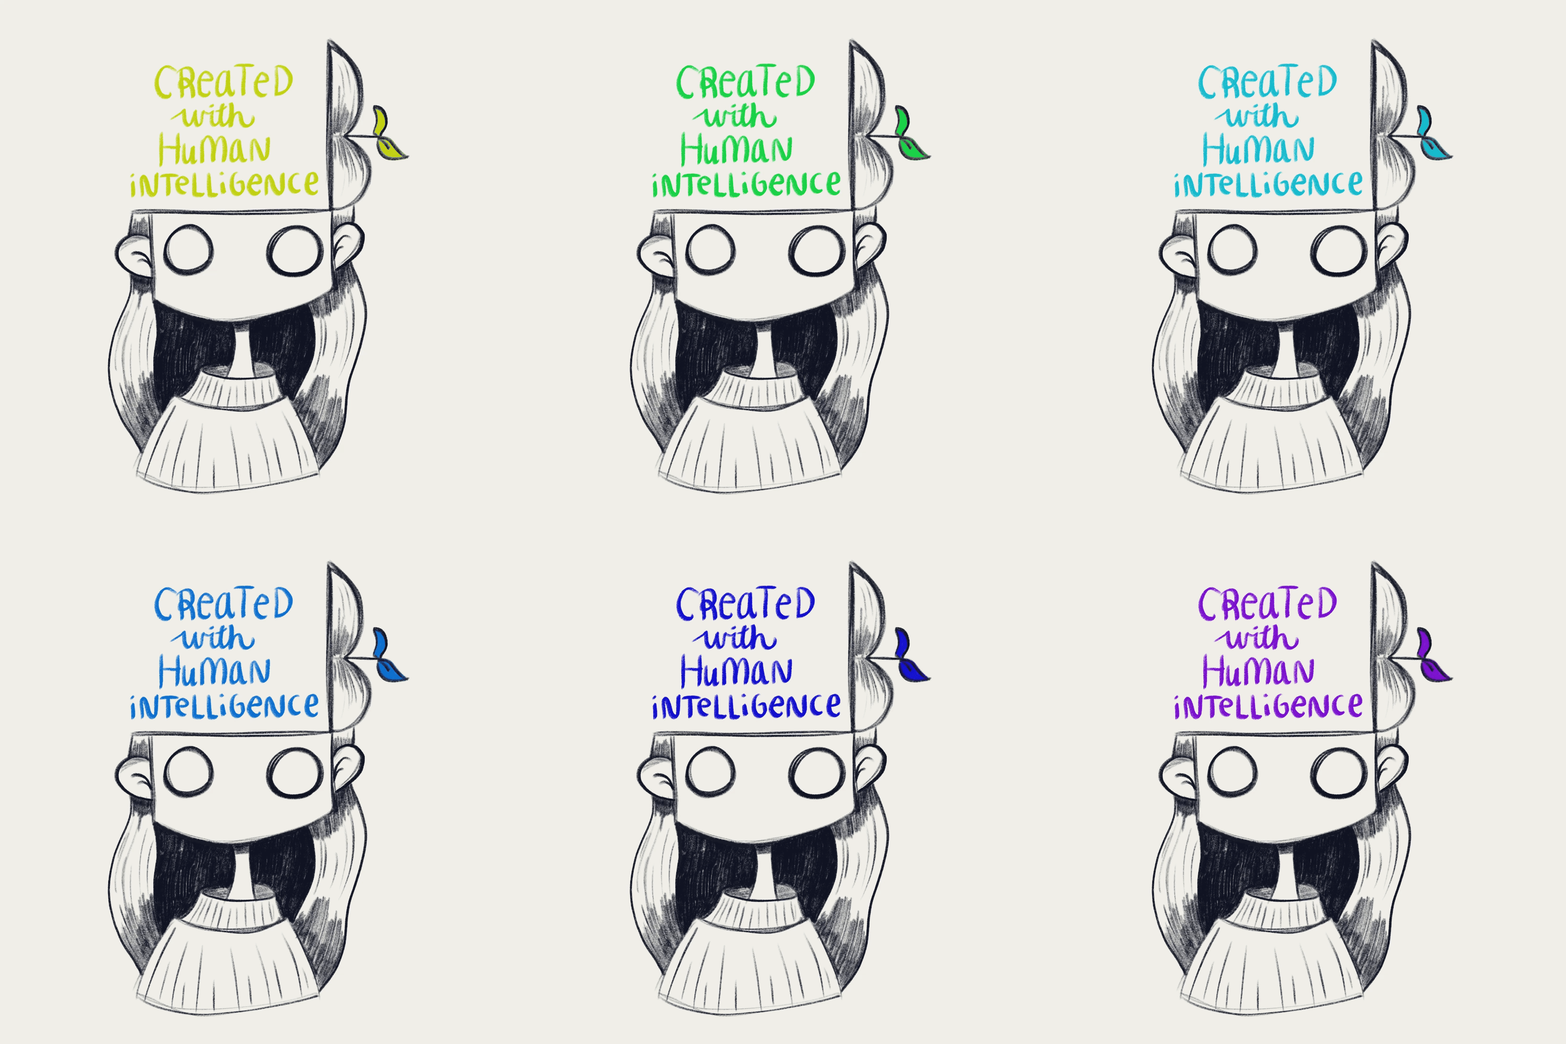
I used 6 colors in the example, but you can use as many as you want. Play around and see what you like! See tip above about creating a “back up” layer to work from.
Step 5: Adjust your animation settings
You’re an expert at this by now! Adjust your settings to best fit your animation. If you’re following along with me I used the Loop setting and 5 frames per second.
Step 6: Press play again!
Three different animations! You did it! Give yourself a pat on the back because thats’s awesome.
I hope this was helpful! Next week, in Part 2 I’ll go over how to export your creations from Procreate, a couple of different tips and tricks to overcome some of the limitations Procreate has, and how to use your new creation on Instagram stories. Depending on how verbose I’m feeling next week that might need to be broken up into a Part 3 or 4 😂.
Let me know if you have any questions about this tutorial or any requests for Part 2 (or future animation tutorials!)
Hope to see some of you at the drawing session on Tuesday! It’s free and open to all skill levels and you can use whatever you like to draw. We’ll be drawing birthday dogs and *spoiler alert* the pictures we’ll be using are adorable.
If not, I’ll see you in Part 2 😉!


